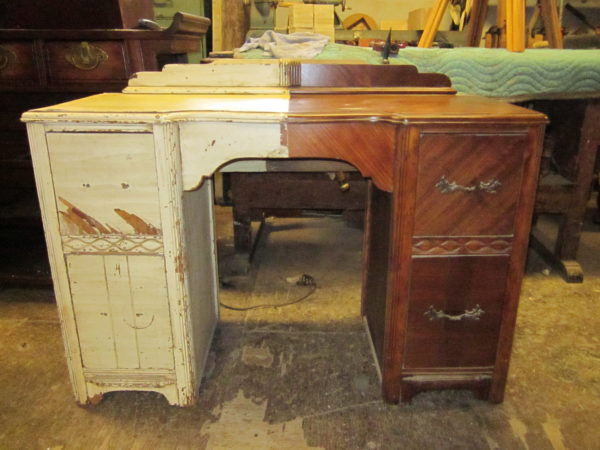
When you have a classic piece of furniture or a family heirloom it can be sad to see it slowly deteriorating. But, it doesn’t have to be the end of the road for it. In fact, in 6 steps you can restore most old pieces of furniture to their former glory!
This is borne out by the fact that the antique industry in Australia is worth in excess of $2.5 billion!
You can use the services of a professional firm to complete French polishing and other antique repairs, or you can carefully follow these 6 steps.
Just remember that restoring old furniture is fine but if you attempt to do antique furniture yourself you’re likely to devalue it.
- Safety
Sanding creates dust, chemicals can cause toxins to be released into the air and other elements of cleaning can cause potential issues for your health.
Before you start your item of furniture should be secured in place, you should have proper ventilation and wear a mask and eye protection to ensure you are not risking your health while working on your furniture.
- Identify the surface
You need to know what type of surface you are dealing with. Unfortunately, this is not always easy!
The best idea is to put a little-denatured alcohol onto an inconspicuous area. If the finish comes off it is likely to be shellac coating.
If this doesn’t work try lacquer remover, to confirm it is a lacquer. Should neither of these approaches work then you are probably dealing with varnish?
- Clean
You need to get an oil-based cleaning product. This can then be scrubbed into your wooden furniture; it will remove dirt and wax from your furniture. You should see a shine returning to your piece, however, if this doesn’t work try warm water and soap but don’t let the wood get too wet.
The final option is to use a solvent cleaner but use this in moderation.
- Remove Imperfections
It’s quite possible that your item has developed some scratches during its life. These can be easily removed by applying a solvent. You must choose one that is designed with the finish of your item. You can then put a little on a clean cloth and slowly rub it across the affected area. You can also use a soft brush.
Once the solvent is dried, which shouldn’t take long, the item will look dull but the imperfection will be gone.
You’ll need to buff lightly until you bring the shine back up. Wax paste can be used to help if necessary.
- Sanding
Now that you have the imperfections removed you need to remove the old top layer. This is done by gently sanding the surface until it is all gone. Harder surfaces may require a scraper or the aid of chemical solvents.
You’ll need to sand lightly at the end to ensure you have a smooth finish to your item.
- The New Finish
You can then finish your restoration by applying a new top coat. This can be a varnish or lacquer in the same colour as the original or you might like to change the colour and the look of your item.
You need to brush it on and lightly sand it off, repeating if necessary before applying a sealer to protect the finish and a lacquer to give it a nice shine.
Then enjoy!


 POSTED BY

