


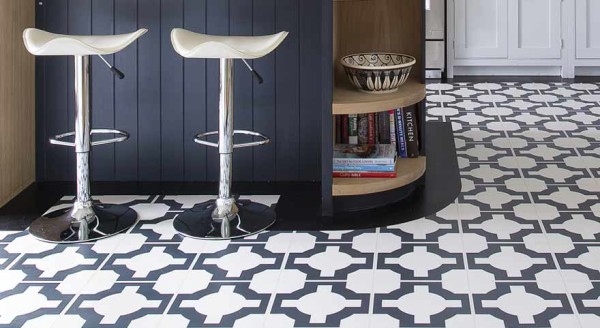
Luxury vinyl tiles are a perfect choice for heavy-duty kitchen flooring, offering a wealth of attractive and super practical flooring finishes to suit all homes. While LVT is made from tough, resilient materials that require a minimum of maintenance, it still pays to look after your floor in order to get the most out of your investment.
Once your LVT kitchen floor has been fitted, it is important to be familiar with all the necessary precautions you should take to protect your LVT floor from general wear and tear and possible damage.
- If you have an exterior kitchen door, make sure you place a doormat on the floor nearby to catch any dirt, sand, grit and other debris that might be brought in on the bottom of shoes and scratch your kitchen flooring, as well as tracking stains.
- Support furniture items with additional wide-bearing floor pads or protectors – ideally 1 inch wide and made of hard plastic, felt or rustproof metal – to avoid leaving dents on the floor. Castors with at least a ¾ inch flat surface are also OK for moveable furniture.
- Never drag heavy items such as furniture or fridges around the floor – they can leave unsightly scratches or dents. Instead, either lift the items that need to be moved or use strips of wood or hardboard runways as floor protection.
- Any rugs used on LVT flooring should be made from non-staining materials – you don’t want any colour runs on your floor! Rugs should have a non-slip backing or be used with a non-slip rug underlay, to prevent them from sliding around the floor.
- Discolouration and pattern fading can be a problem, particularly if your kitchen has large windows or French doors and faces south or west. Make sure that you keep curtains and blinds closed on bright, sunny days to reduce the exposure to direct sunlight and heat on the vinyl floor.
- Check that any rubber products that are in contact with the floor (rubber backed rugs, rubber mats, feet or stoppers) are made from non-staining rubber and don’t contain antioxidants. A chemical reaction can cause antioxidant staining that produces a yellowish stain on the floor.
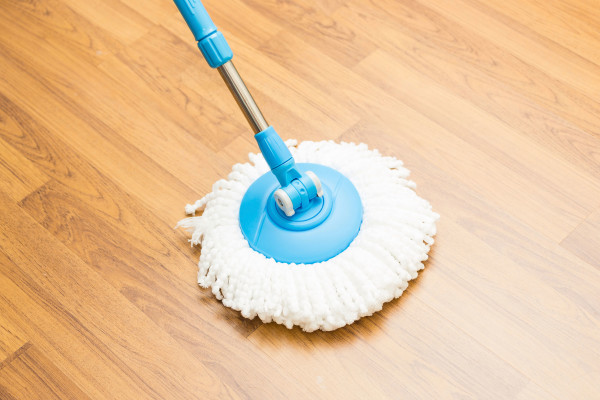
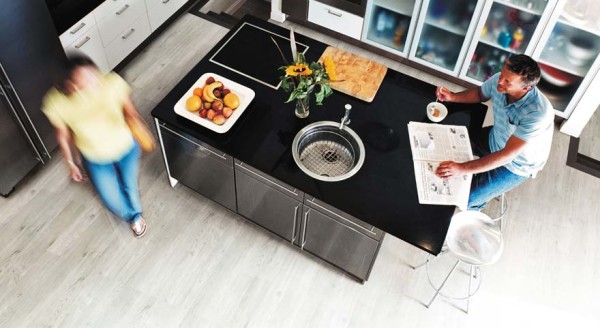
LVT flooring scores highly when it comes to the kitchen. It’s easy to install, warm underfoot, hardwearing and very easy to keep clean. Everyday spills and stains can be tackled with a minimum of effort.
- Give your floor a regular vacuum or sweep with a soft-bristled broom to remove loose debris – every day if possible. This also goes for any kitchen rugs or doormats and the area underneath them.
- Wash your floor at least once a week to get rid of any spills. The floor should never get soaking wet during cleaning. Instead, use a mop (well wrung out) or damp cloth to wipe over the surface to remove dirt and lift any marks.
- Take great care to only use a cleaning agent that is designed for use on vinyl floors. Some cleaners contain chemicals that can make the floor slippery.
- Mop up any food stains, grease or liquid spills immediately, Use a soft-bristled brush, if necessary, and a gentle rubbing action to remove any marks without damaging the LVT surface. Special stain removing agents should only be used if they are confirmed as safe for use with vinyl tiles.
- Always rinse the floor surface thoroughly with clean water afterwards. A damp cloth or well wrung out mop should be used before letting your kitchen floor dry naturally and certainly before children or pets are allowed back in.
- It is not advisable to use floor wax with vinyl floors, as this can cause the floor surface to become slippery and dull the appearance of the tiles. If desired, a liquid acrylic finish may be applied in heavy-duty traffic areas to provide a protective barrier, added shine and greater longevity.

 POSTED BY