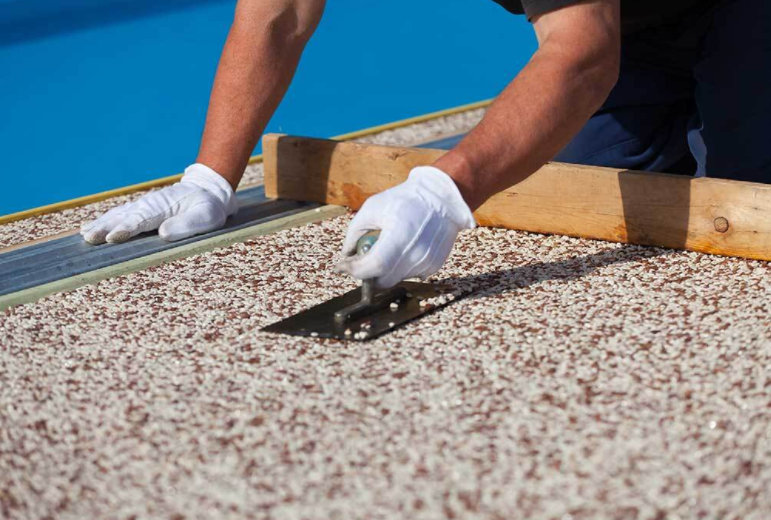
Epoxy forms firm surfaces that other building materials cannot match. Because of this, epoxy floors are becoming increasingly popular. As a homeowner, your epoxy floor is probably the pride of your home. Epoxy is a material that provides attractive and durable floors for both commercial and residential properties.
But if the epoxy is cracked, then it must be repaired. To address these issues, homeowners need to know the basics of home maintenance and repair. This article has discussed how to repair it with the tools in your toolbox.
But will epoxy chip away or crack? Yes, cracks can form on the epoxy coating, leaving you with expensive repairs. An epoxy floor will crack because your concrete floor is cracking, which includes heavy impact and a long time of tear and wear. Therefore, you should know how to handle any floor cracking or chipping. A flooring contractor will take these steps when repairing your epoxy floors to keep them looking as good as new.
How To Repair Your Epoxy Floor
Minor chipping or cracking is more comfortable to handle. Applying an even layer of compound to the epoxy floor will eliminate the gaps.
Major epoxy repairs require recoating the surface again, which is expensive. Coating your floors with epoxy is not just manual work. It is science. If you are not confident in your skills, hire a professional to do it for you. Here are the steps to take when repairing minor or significant floor sections.
- Get rid of the chipping epoxy from the floor.
Use a paint scraper to remove sections of chipping epoxy from your surface. Wedge a paint scraper against the chipping coat at a slight inclination. Apply moderate pressure to the paint scraper. The epoxy will come out clean and easy. Remove portions of existing epoxy sections if they show cracking or chipping away. Scrape back and forth quickly if the epoxy coating is proving difficult to come off. It will loosen up.
- Sand the areas where you have scraped the epoxy.
Sand the damaged areas to prepare the concrete to hold the epoxy properly. A palm sander is the best tool for repairing small areas, although 60-grit sandpaper is just as good.
Wear ear protection, a respirator face mask, and safety glasses to prevent ear, breathing, or sight problems due to the dust and shads. Plug in your handheld sander and place it over the damaged areas. Work it over the working surface in 30 cm-wide circles for about 30 seconds. Move to the other damaged areas and work in the same manner until you’re done sanding.
Palm sanders are especially great when sanding the areas close to the walls. You can get or rent one from home supply stores near you. Use a floor buffer when repairing more extensive floors. When working with floor buffers, begin working on the outer edges and slowly push your buffer to the far side. Turn in the opposite direction and move towards where you first started sanding. Sanding the floor gives the epoxy a rough surface to stick to when the epoxy does not chip or peel off again.
.Use a shop vac to vacuum up the epoxy chunks and debris from sanding your floor.
This is important because sanding gets rid of dust trapped underneath the epoxy and will cause chipping and peeling away.
- Clean your surfaces.
Wear protective gloves before you start conducting this operation. Wet a rag in denatured alcohol and start rubbing the surface you are working on circularly. Cleaning the floor with denatured alcohol prepares it to receive the new epoxy coating. The rag should be saturated but not overly wet.
- Mix the epoxy.
Mix the measured two-part epoxy correctly or as per the manufacturer’s instructions. It is advisable to use a similar type of epoxy to which you used in the first coating. A drill or stirring bit will help you in this step.
- Reapply the epoxy coating over the clean floor.
Dip a 1.9cm wide paint roller in the epoxy tray and apply an even layer over your floor. You should apply the solvent-based coloured epoxy coat first. If you are working in a garage, keep the door open. This is important for your ventilation because solvent-based epoxy emits poisonous fumes. Please leave it to dry for a minimum of 24 hours.
- Finally, the surface coat is applied to prevent further chipping.
For this operation, use a 1.9cm wide nap roller. Start on the edges and move on to the rest of the floor. Wait 4-10 hours before applying the final finishing top layer.
How To Fix Epoxy Cracks
Epoxy injection is one of the most common ways of repairing narrow cracks. The activities of the definite cause a crack in the surface coating beneath causes cracks on the surface. If the concrete cracks for reasons such as earthquakes, your epoxy floor will crack together with it. Fixing cracks on the coating will go together with fixing cracks in the concrete. You will need a hammer and a concrete chisel for this task.
- Chip away at the loose material until you get to the firm material. Make holes at specific intervals in the crack.
- Clean the crack. Remove any contamination in the crack using air under high pressure or water.
- Place a cap over the surface of the crack to contain the epoxy. Batch and mix the epoxy properly.
- Inject your carbon-based epoxy to bind the crack together firmly.
- Remove the cap and evaluate your repair. For routine repairs, you can monitor the surface of the crack with your eyes. For more critical repairs, you can use ultrasonic equipment during injection.


 POSTED BY

