

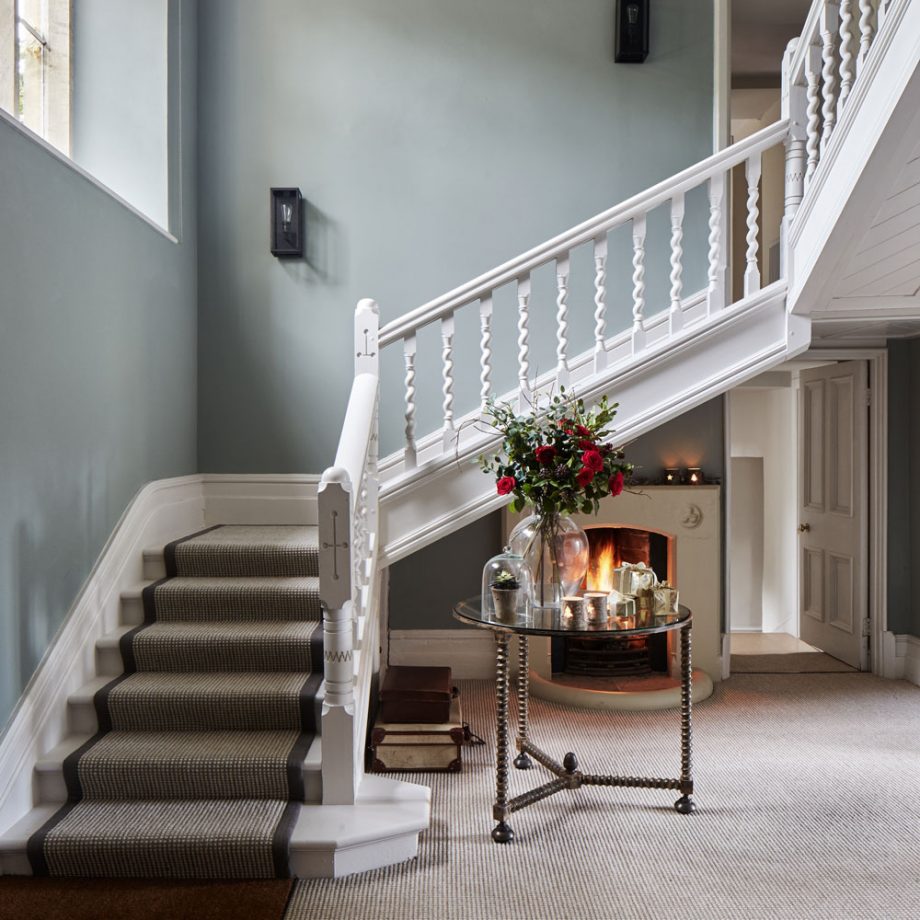
It’s a common misconception that moving the staircase in your home is a difficult and costly job. In fact, it is much easier than you think. You may be surprised to realize that moving the staircase can completely transform the look and feel of your home.
Get The Design Right
However, before you jump feet first into moving your staircase it is important to consider what the best stair design is for you.
You may want to flip the stairs, relocate them completely or simply look at changing the design of the balustrades. All of these changes can seriously affect the way your home looks and feels; that’s why it is important to consider and plan before you start moving the staircase.
If you have a stair chair lift in your house, you’d be best advised to speak to a professional about moving your equipment along with the staircase. Moving your staircase can give your house a whole new look but you need to make sure that the new location is as functional (if not more) as you have a senior at home.
Step 1 – Choose The New Location
If you’re ready to move the staircase then you need to decide where it is going to. It is common to locate it by a wall instead of in the middle of the room.
Go to the floor at the top of the staircase and remove the flooring. You should be able to see the joists that support the floor you’re standing on.
At this stage, your old staircase can be left in place and still used.
Step 2 – Cut The Space
Once you’ve marked the joists that need to be cut you can now insert posts at the edge of your new opening.
These are to help support the floor while you complete the work. With this in place, you can cut out the floor joists to create the opening you need.
It’s a good idea to leave approximately 100mm of joists sticking out of the wall. You can fasten support posts to this and a new top beam. You’ll also need to add a beam at the top of your supporting posts on the other side.
Step 3 – Create The Wall
Now you need to add insulation between the posts on your existing wall and then dry line over them. This will ensure a load of your new stairs is spread across the wall.
You can now fix your new stairs in position; hoping that you have got all the measurements right!
Step 4 – The Temporary Wall
If you don’t want a wall on the inside of your new staircase then you should be able to remove this now and add in your balustrade and other feature pieces.
If the wall remains, fill the gaps with insulation and a dry line on both sides to create a smooth finish. Of course, you’ll still need to add at least one railing for support when going up or down.
Step 5 – Fill In The Old Space
You can now remove your old stairs and all the pieces that surround them. Then you should add battens between the joists, the same size as the original joists. You can then put plywood over these battens to create a new floor; that will be safe to walk on.
That’s it! Give yourself a pat on the back and admire your new stairs!

 POSTED BY