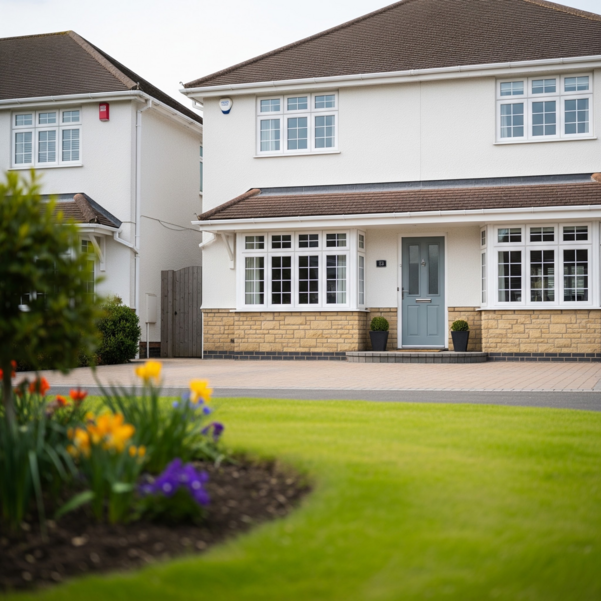


Taking great pictures of a home or property will go a long way towards getting it sold. Imagine yourself browsing for some real estate online. You’re almost entirely reliant on the pictures. If the pictures look bad, you’ll close the listing and move on. That’s exactly how other people will use the real estate pictures you take as well.
But taking high-quality real estate photographs can be difficult to do. There are so many things to keep in mind that will help make each picture just a little bit better. To make it easier for you, we’ve talked to the folks at Visual Grip, a real estate photography company in NYC and NJ, to develop this list of real estate photography tips and tricks to help you get the best pictures possible.
So if you’re ready to learn a few ways to help you improve your real estate images by taking better quality photographs, these tips are for you. Let’s dive right in!
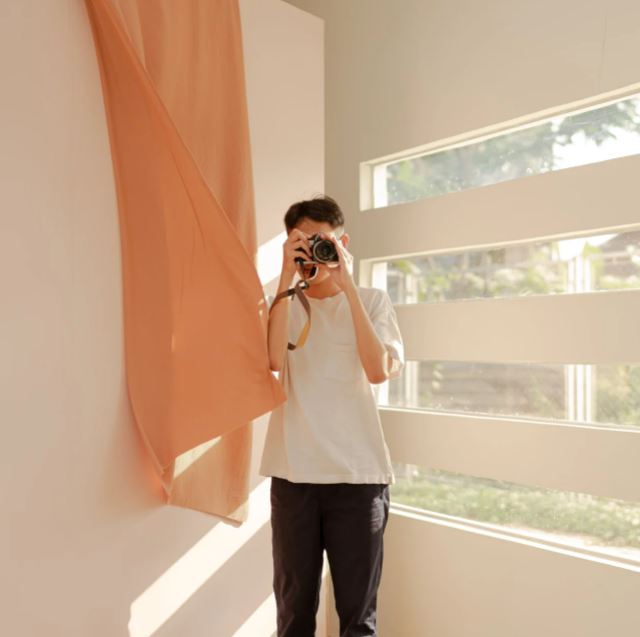
Full Frame Cameras Are the Best Choice
Although not entirely necessary to produce high-quality real estate photography, if you want your photos to stand out, you should invest in a full-frame camera. Without getting into the nitty-gritty details of what a full-frame camera is, just know that it has no crop factor. This means that the camera can capture the “full” image without having to crop any of it out because the sensor is too small.
This type of camera enables you to capture the best resolution, fullest images possible, which will really make the listing stand out amongst the other homes on the market. And when all it takes for someone to choose one listing over another during their online search is a better image, every little bit counts.
If you’re just doing real estate photography one or two times, we don’t recommend spending the money. But if it’s going to become a professional endeavour, it’s definitely worth the investment!
A Wide Angle Lens Makes All the Difference
A wide-angle lens will work in conjunction with the aforementioned full-frame camera to provide the highest quality pictures possible. Especially with interior photos, you really want a wide-angle lens to help open the space up and capture as much of the room as possible. These lenses allow you to see much more of the space than a standard angle lens, allowing potential buyers to truly see how the home flows together. Simply put, a wide-angle lens is one of your best tools for great real estate photography.
You have a few different options when it comes to wide-angle lenses, but you don’t necessarily need to invest upwards of a thousand dollars or more in an ultra-wide-angle lens. Getting something decent for $100 – $200, such as a 24mm wide-angle lens, will change your photos and make the home’s interiors really stand out.
Use a Tripod for Stability
You want your real estate photographs to be clear and crisp, showing the home’s distinct shapes and designs. No matter how steady you think your hands might be — even if they really are steady — there is always the chance of some degree of movement as the photo is being taken.
Instead, use a tripod to mount the camera on and guarantee a clear, crisp image every time. Tripods can be found fairly inexpensively and can provide you with one of the best quality of life updates to your photography repertoire that you didn’t know you were missing.
Light Stands and Natural Lighting Combine for Optimal Lighting
Some people try to exclusively use light stands to provide all the light they need for their images, while others want to use all the natural light they can. We’ll be the first to say, of the two options here, using natural light is almost always better than solely relying on light stands.
But you know what’s even better than either one? A combination of both! Open those curtains up and let the natural light flow through the house, illuminating your settings. Use light stands when and where they’re needed to get the ideal lighting amount and colouration. Lighting is the single most important aspect of the photo, and it pays to get it right.
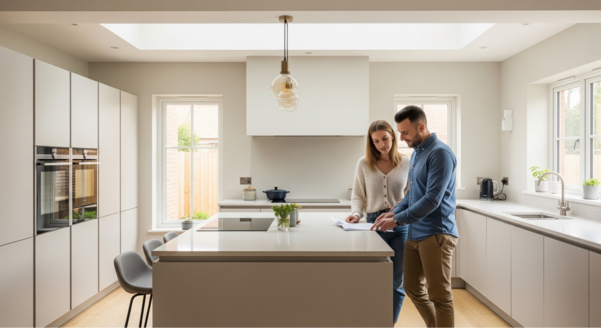
Stage the Perfect Setting
It’s always best to stage the room or area of the house that you’re taking a picture of to make sure you’re showing off its best qualities. This doesn’t have to mean bringing in a full staging company to add furnishings all over that make it look absolutely perfect.
Even rearranging the current furniture into a more aesthetically pleasing design can go a long way to improving the final picture result. While you’re at it, make sure that toys, pets, clothes, etc. are all picked up off the ground and out of the shot frame. Great real estate photos will be devoid of visually unappealing household clutter.
Post Processing and Editing
Even the most keen-eyed professionals out there with all the skill in the world will still need some degree of editing on many of the images once they’re done. We’re not suggesting to dress them up so much with editing software that you can’t recognize the spot in the house, but a little post-processing can go a long way.
Using editing software, you can easily remove a stain from a carpet or stage in some virtual furniture (like a painting on the wall, or a lamp in the corner) to make space look a little better. If you get really good at it, you can even blend images taken with different exposure times to really create the best possible image of that part of that house.
Don’t Fake the Photos
Faking the photos is one of the quickest ways to lose potential buyers and gain a bad reputation. It might seem easy to add a great view out of the window or put an island in the kitchen where there wasn’t one before.
But don’t do that! Sure, you might garner more interest if the view from the window is better or the kitchen looks more modern and accommodating. But as soon as the potential buyers show up and see the actual house, they won’t be happy. Just show the house as it truly is but in its best light.
 POSTED BY