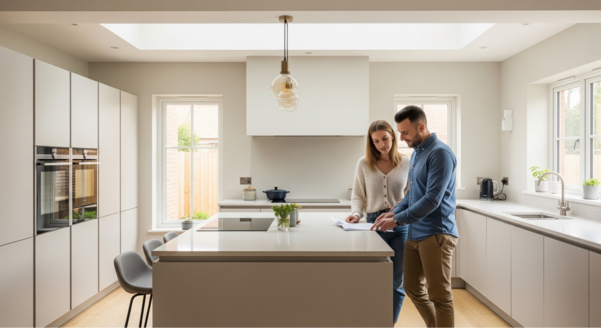


Hardwood flooring can be a great option for you whether you have residential or commercial space. Wood floors enhance the beauty of a space and add a well-needed touch of elegance. They are also easy to clean and require little to no maintenance as they don’t accumulate dust or debris like carpets. They are also durable, making them one of the top choices when it comes to flooring.
If you’re considering getting it, you can consult wood floor installation companies that provide full circle installation services for your residence or commercial space. Alternatively, you can take up a DIY project and install the floor yourself. The project can be lengthy and challenging. But if you’re well equipped and have sufficient knowledge, it will save you a ton of money.
Below are five simple steps for installing a hardwood floor on your own.
Acclimate the Flooring
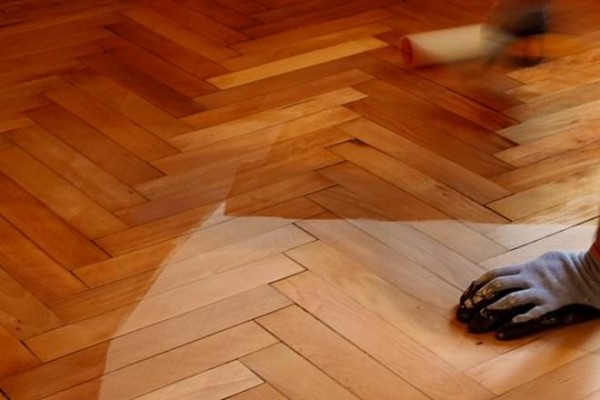
The boards or pieces you’ll use for the flooring need to be acclimated. Wood can expand or shrink based on the temperature, so it’s important to let them adjust to the temperature of your house. Place them inside the room in the order you’d like to install them. Leave them for at least 3-5 days to adjust to the temperature and humidity.
After the acclimation, you can easily find the straightest pieces and install them against the walls. The process will also expose damaged or warped pieces and unsuitable for installation. Keep them aside as they can be cut and used in corners.
Prepare the Area
The flooring area needs to be clean before installation. It also has to be a smooth and level surface. You can choose to remove the old flooring or add the wood floor on top of it. In the case of the former, you get a completely new base to work on. Removing the old flooring might require you to level the base out or rectify any ridges. It can also drive up the cost. On the other hand, installing over the old flooring will give you good insulation and help set the floor nicely. Don’t forget to remove doors and shoe mouldings as a part of the preparation.
Choose an Installation Method
There are various ways to install the flooring. The type you choose will depend on the condition of your subfloor, your taste, and your budget. The most common methods are glue, nail, and click lock.
The glue-down method is the most common and popular method among the three. The wooden pieces are placed on the area with glue and clicked. As this requires the least effort and resources, it’s also one of the cheapest installation methods.
The nail-down method is more durable, but it requires a wooden subfloor. If you don’t have one already, you might have to remove the current flooring and install a plywood subfloor which might drive up the installation cost.
The click lock method is done by clicking the panels together and is the perfect option for engineered wood.
Install the Boards
Cut the hardwood board using an electric cutter or saw. All pieces must be cut in a perfect square at a 90-degree angle so they’re straight and can line up well against the wall. You can use a jigsaw if you aim for an irregular cut or a curved piece.
Using a floor nailer to fasten the flooring is the safest and quickest option. You can use the face nailing or blind nailing technique for this job.
Begin installing the floor from the straightest wall of the space and choose boards that align perfectly with the length. Always keep half an inch of gap between the wall and the boards to allow expansion. It will be covered by moulding later on.
Complete the Installation
Filling the very last rows of the space is the trickiest part. Because of the pieces’ formation, the boards’ ends won’t match. Keep at least six inches between the jagged ends and the wall. Cut boards into pieces as required and fill in the gaps. You can mix and match the colours and textures of the boards to bring variety to the look.
Add putty to any nail holes or missing surfaces. Finish off by adding baseboards and shoe mouldings and attaching them to the walls.
It is far easier to get your floor done by professionals than attempting to do it yourself. However, a DIY flooring project can be fun and cost-effective. If done correctly, a DIY flooring project can bring the best results, too. If you’re fearing damages, ensure that your home insurance covers them.
 POSTED BY