

Regenerate, Refine, Repeat: Easy Tweaks in a Free AI Image Generator
AI images may look great at first, but some aspects may still need improvement, such as lighting, composition, colours, or details. Regeneration can be used to experiment with other interpretations, without discarding your initial result as your final product. Many tools now offer built-in image editors and generators, letting creators enhance visuals from different angles and perspectives. Depending on account access and platform terms, free daily credits can offer opportunities to experiment. Knowing when to use regeneration, edit specific details, and increase resolution makes image refinement more effective.
What Regeneration Can Change—and What It Cannot Guarantee
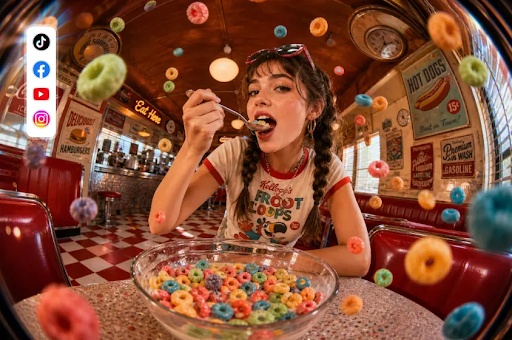
Regeneration generates another image based on your prompt and current generation settings, creating a new interpretation of your original idea. Prompt wording in an AI photo editor’s AI Image generator affects the subject’s appearance, colour palette, composition, atmosphere, and artistic direction. For instance, descriptions of soft light or a focal point can focus the resulting image. But because generative models interpret instructions probabilistically, similar prompts can yield different outputs. Regeneration cannot ensure that every detail that worked in an earlier image is preserved. If the composition is already good and one object needs to be removed, it’s usually better to edit the original image. Use regeneration for broader creative changes, and localised editing for local changes.
Recognise the Difference Between a Prompt Problem and an Editing Problem
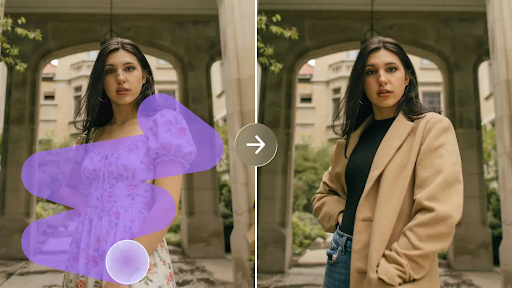
Choosing the right revision technique avoids unnecessary generations and keeps working details from being lost. An AI photo editor offers image creation and editing capabilities, but specific tools and availability may differ depending on your account type. When the framing, subject placement, and/or overall art direction are significantly off, change your prompt! Remove it if an unwanted object distracts from an otherwise successful composition. Retouch can correct supported visual defects, and Expand simply adds more canvas space around an existing image. Creative upscale addresses resolution enhancement, not a change in the image’s creative direction. If the style doesn’t seem right, try changing your wording or using another available model before adding any details in corrections.
Steps to Regenerate, Refine, Repeat: Easy Tweaks in a Free AI Image Generator
Step 1: Start with your idea and a clear prompt
- First, sign up or log in to your preferred tool.
- Next, click the “Create” tab in the left menu and select the “AI Image” option.
- Later, enter a detailed prompt describing how your image should look, including elements, theme, and concept.
Step 2: Select your model and tweak the settings
- Next, scan the bottom of the dialogue box and select the image model you prefer.
- Try Seedream, GPT Image, or Nano Banana, and compare how each one responds to your idea.
- Upload a reference image to make your picture look more precise and natural.
- Then adjust the aspect ratio and quality using the “Aspect ratio” and “Resolution” tabs.
- Decide how many drafts you want in the “Images to generate” tab, and set the “Dimensions” manually.
- Add words to your artwork by opening the “Draw text on image” tab.
- Finally, click the “Generate” tab to start the creation process.
Step 3: Regenerate, refine, and save your favourite
- You will get the required number of drafts, and you can choose “Edit prompt” or “Regenerate” until the results feel right.
- Raise the detail level of your best draft with the “Creative upscale” option.
- Use “Retouch” to correct mistakes, clean up rough spots, and enhance details in the selected image.
- Erase anything unwanted using “Remove” , or grow the picture outward with the “Expand” tab.
- You can easily convert the image you generated into a video through the “Generate video” tab.
- You have complete freedom to tweak the image the way you like.
- Finally, click the “Download” tab at the top right to save the image on your device.
Six Common Image Tweaks and How to Approach Them
Sometimes, small, meaningful changes can enhance a picture without having to recreate it. Depending on the model and editing tools, an AI photo editor provides various creative possibilities.
- Lighting adjustment: Talk about the direction, softness, and contrast of the light. Replace when the lighting treatment overall needs significant changes.
- Colour correction: Indicate the main colours and tones. When the area to be adjusted is small, use an appropriate editing control.
- Background replacement: Explain the desired background and how it relates to the subject. Examine edges and shadows as the surrounding scene changes.
- Style refinement: Identify the desired medium, texture, and artistic qualities. Maintain a consistent subject description, and try style variations.
- Clean up details: Look for distracting marks, uneven edges, or unwanted elements. Wherever possible, use Retouch or Remove rather than recreate everything.
- Canvas expansion: Determine where more space is needed and explain what is in it. See if the expansion area is congruent to the original scene.
Make the Most of Free AI Image Generation Credits
Depending on the account and platform terms and conditions, an AI photo editor offers free daily credits. Credits can be used to consider various ideas before deciding on a desired path. Start with general visual experiments, then follow up with more specific prompts for ideas that seem to be working. By avoiding unnecessary attempts due to missing information or conflicting requirements, clear instructions help to ensure that all requirements are met. Generation limits, however, are subject to credit availability, model availability, and account restrictions. Certain advanced features or usage limits may be available only for a fee.
Refine Images Without Creating Unnecessary Versions
Each regeneration should solve a problem and not create another image for no reason. Check each outcome against your original goal in terms of composition, subject accuracy, visual style, technical requirements, etc. If one thing needs to change, localised editing lets you keep the better parts. When the composition is promising, save a copy before making major changes. While an AI photo editor enables an iterative creative workflow, selecting the right versions can be burdensome, and credits can be depleted by unnecessary revisions. Stop refining when the image has achieved its intended purpose and meets the specified quality criteria.
Avoid the Most Common Regeneration Mistakes
Too many prompts can create conflicting instructions, so focus on the most important visual needs. Also, vague revision requests waste effort because they do not specify the real issue. Describe exactly what needs to be adjusted: light direction, background colour, subject placement, etc. Have a purpose for each generation – do not have repeated random generations. In cases where the composition already works, do not add unnecessary changes- reinforce the framing! Keep in mind that Regeneration is about image, and upscaling is about resolution. Before downloading, check key information, lines, text, and composition for flaws.
Why AI Photo Editing Is a Game-Changer for Property Advertising
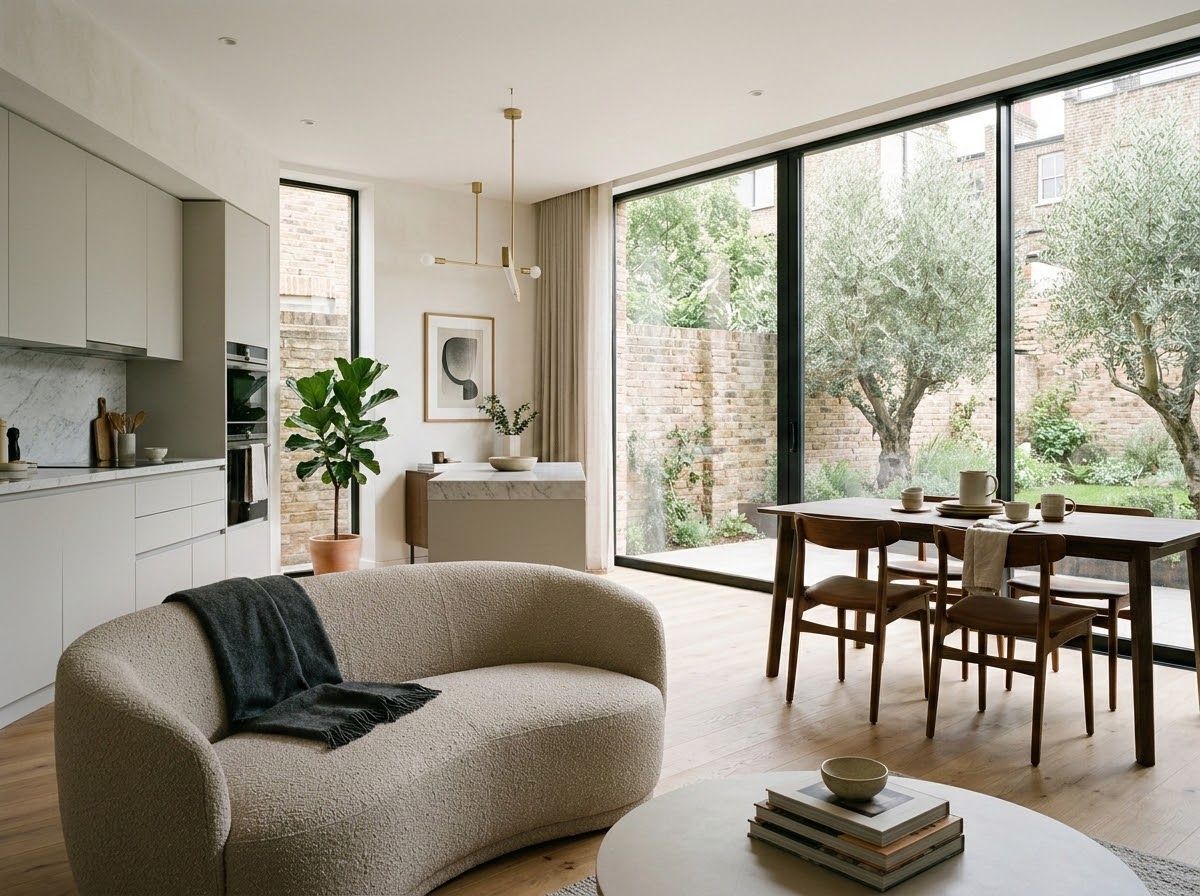
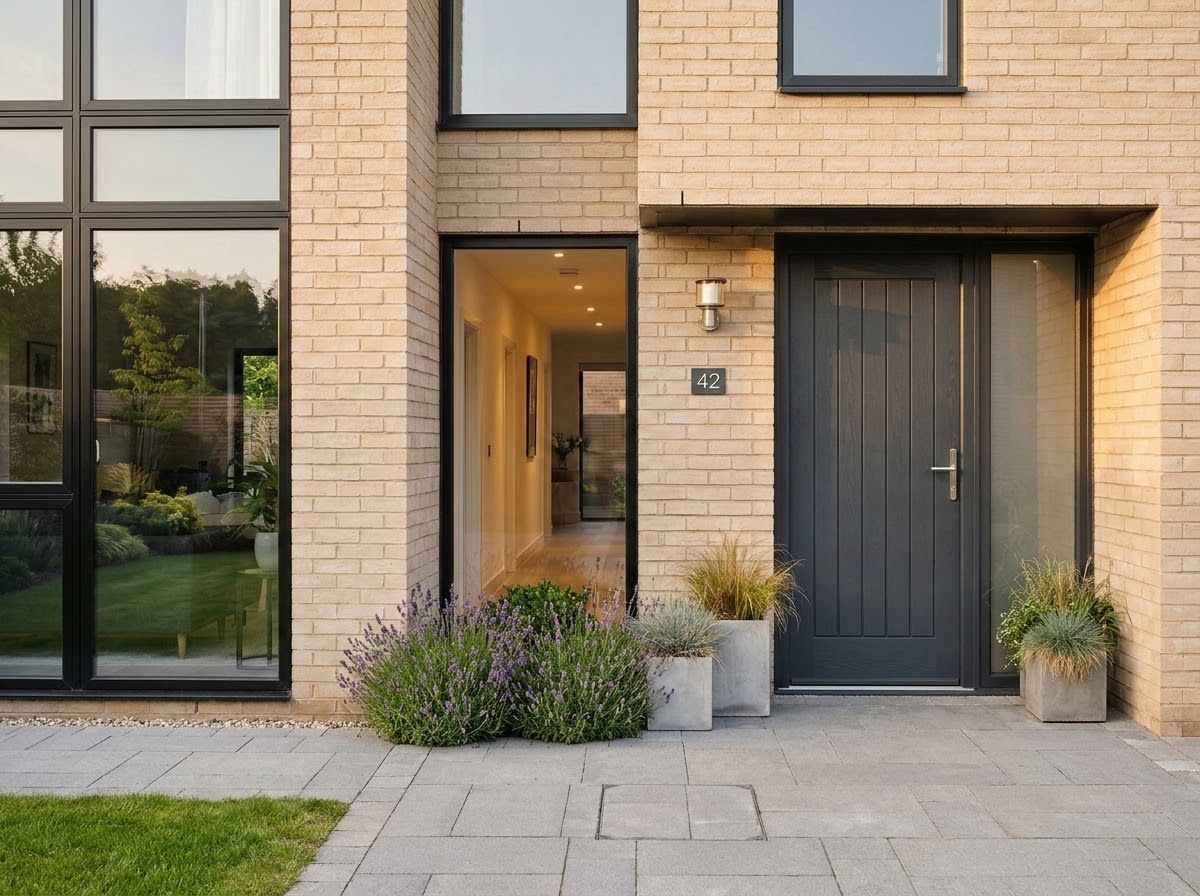
When listing a property online to rent or sell, high-quality visuals are essential for capturing potential buyers’ or tenants’ interest. For private landlords and private sellers, hiring professional photographers for every listing can be costly and time-consuming. AI photo editing levels the playing field by allowing individuals to produce professional-grade real estate imagery independently. From optimising interior lighting and colour balance to removing unwanted clutter or enhancing exterior skies, simple AI tweaks turn casual smartphone photos into crisp, inviting property listings that stand out in crowded online marketplaces.
Conclusion
The first step in effective image refinement is to determine what is wrong and choose the right tool. Regeneration offers alternative readings, localised editing corrects details, and upscaling increases the resolution. An AI photo editor offers these creative possibilities and allows users to experiment with features such as generation and editing. Free credits and enhanced functions are subject to platform conditions and to the current account’s access. Review each result, keep the successful ones, and make intentional changes. Identify the problem, select the right tool, evaluate the result, and stop when it meets the image’s purpose.
Ref: 4393.38503
 POSTED BY